Tell Tool

For the customers of manufacturer Tell Tool, quality assurance is a matter of life and death.
The company, which holds ISO 9001:2000 and AS 9100:2000 certifications, makes complex machined castings, forgings and wrought material for aircraft and spacecraft–parts upon which these craft rely to stay airborne. Its customers, among them Hamilton Sundstrand, Goodrich, Parker Hannifin and Eaton Aerospace, make up a who’s who of the international aerospace industry.
This mix of mission-critical components for high-stakes applications makes visual inspection a key part of Tell Tool’s manufacturing process. In the past, Tell Tool met quality demands via manual, time-consuming methods–making impressions or visual inspection with only the naked eye. Often, customers’ requirements are much more stringent. Michael Ostrowski, head of Tell’s purchasing team, mentions one of his company’s products, a jet-fuel control housing. If the part doesn’t meet blueprint tolerances, Tell must reject it.
“There’s no repair allowed; the customer will not receive the part. It’s that critical,” he explains. “If a burr were clogging a passageway when the engine is calling for fuel, you could have a catastrophic failure of the engine.” The result of a rejected part for Tell Tool isn’t, of course, as dire. Yet each reject incurs a financial cost for the company, particularly because its customers rate it on its quality results.
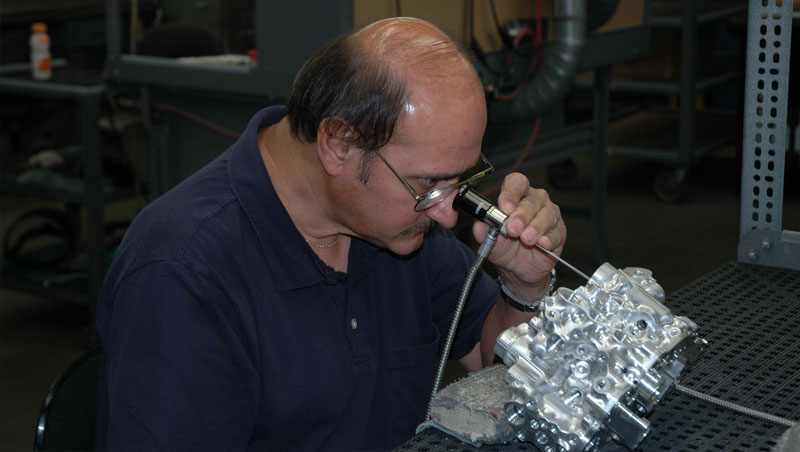
Today, Tell Tool ensures quality by using Hawkeye borescopes, made by Gradient Lens Corporation, to visually inspect 98 percent of the pieces it manufactures. Borescopes are a key component in Tell’s visual inspection process because of complex geometries that are common in its products. For instance, Ostrowski notes, some component cavities might be 5 or 6 inches into the part. “On one job, we actually go in with a flexible borescope to snake through some detail and around cast cavities to make sure there’s no extra material,” he says. In some instances, Tell undertakes the borescopic inspection that the customer would usually handle, a factor that has helped Tell reinforce customer relationships. Ostrowski estimates the company utilizes nearly 50 Hawkeye borescopes
In addition to its general manufacturing area, Tell Tool uses borescopes in:
- Deburring–This area is the heaviest user of borescopes because cross-holes in parts often have burrs that have to be removed.
- EDM—Operators in this area check inside cavities for burns.
- Extrusion/honing—Here, a machine pumps abrasive putty through flow chambers to polish them, and operators check pieces after that process.
Borescopes also have helped Tell Tool finely tune its inspection process. That’s vital because, on average, each part the company makes consists of 5500 features that require checking.
“Some even have 10,000 features,” Ostrowski says. “Only a handful of other companies can manufacture the parts that we do.”
Tell’s Quality Department marks up each blueprint by assigning every blueprint dimension a characteristic number, then entering the information into a database. Once all the blueprint’s characteristics are accounted for, engineers determine which operators and machines will manufacture each feature. Next, the quality team determines how the piece will be inspected. In some cases, customers set their own quality levels, specifying how many pieces Tell must inspect per lot.
Tell employs certified machine operators who inspect pieces coming right off the machines, with quality staff, some of whom are DSQRs, providing further checks. The process incorporates software that prompts the operators for results by characteristic number. By the end of the process, all inspection results are accumulated in a database and documented.
A quality committee monthly reviews all QA issues, identifying any deficiencies in Tell’s manufacturing process, tracking defects through data it collects and acting on that data. “We make everything to the blueprint,” says Ostrowski, “and offer value in giving customers a part they can rely on.”